
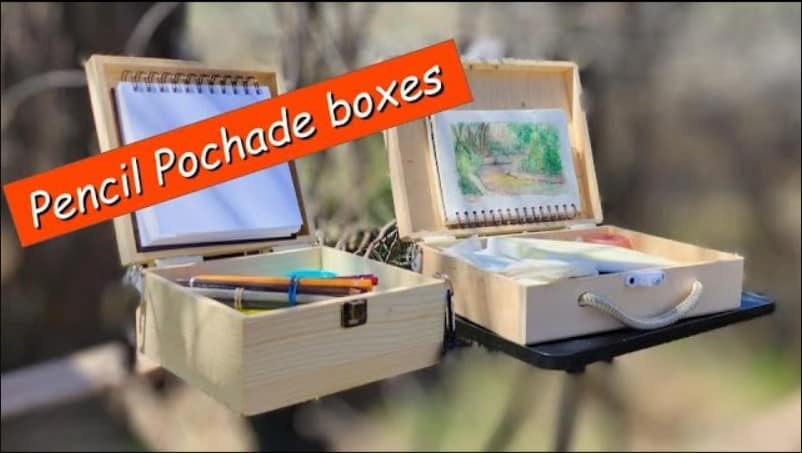
I love sketching and painting outside. Getting out in nature and seeing things up close and in full color is such a great way to learn the colors and perspective in a way you just can’t do with a photo. Having a portable box for my art supplies that can double as an easel has made my sketching adventures even more fun. In this post, I’ll share my tips for making a sketchbox easel, or pochade box as some people call it. I will also highlight some of the features that I find most important.
Check out the companion video of this post here https://youtu.be/vs1jEvxsVOw
I’ve provided a list of suggested materials below. Some of them have a link to Amazon for your convenience. I may get a small commission at no extra cost to you if you purchase via the link. (thanks!)
Essential Items
- A premade wooden box – Example: 12 x 9x 3.1 inch) Natural Pine Wooden Box https://amzn.to/3HNDMfY
- Adjustable Torque Position Hinges https://amzn.to/3LbacT
Optional Items
- Smaller screws of suitable size for your box
- 2 D-rings
- Lightweight shoulder strap
- 2 Carabiners
- A T-Nut to serve as a tripod mount
- 2 rubber washers
- Heavy duty glue (Gorrilla Glue will do)
- Optional water cup
- Optional Strong magnets for the water cup
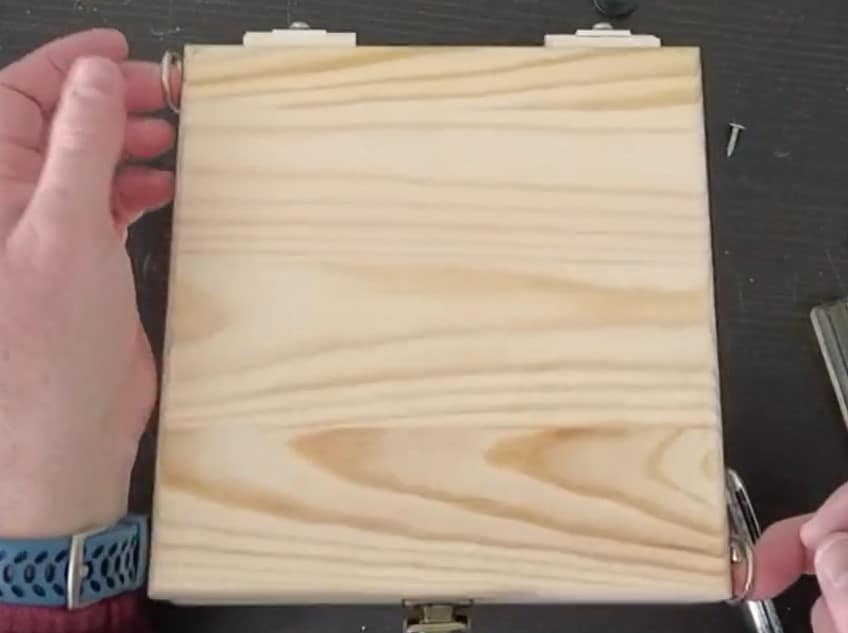
Step 1: Choose your box
The first step is to choose a box. You can find pre-made wooden boxes at most craft stores, or you can even upcycle an old box. The size of the box will depend on your needs, but if you are planning on using a sketchbook, canvas panels, or art boards make sure it is big enough to fit them inside. The box listed is similar to my current favorite size. 12 x 9x 3.1 inch) Natural Pine Wooden Box https://amzn.to/3HNDMfY but in my video I used this: 7x7x3.5 Unfinished Wooden Storage Box https://amzn.to/3V3Ufmd
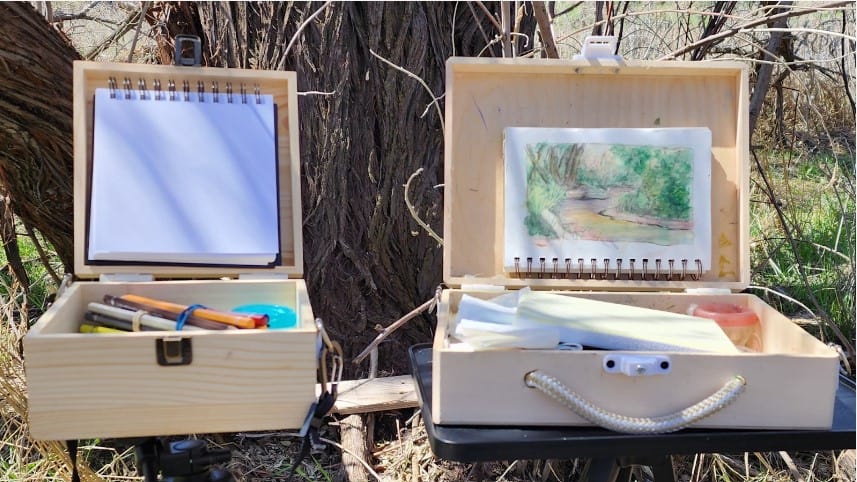
The 3.5 inch depth is nice since it will hold standard pencil pouches and a sketchbook. The bigger 12×9 size should fit a wide variety of sketchbooks or canvas sizes as well.
The smaller 7x7x3.5-inch box is a good size if you plan on taking it very far outdoors (like on a hike). Keep in mind however, the smaller box does get a little cramped and is only good for smaller sketchbooks.
If I were to make only one, I’d go for the bigger box but choose the best size of box that will meet your needs. SInce these are relatively cheap and easy to make so you may do like me and make several. At the time of this post, I’ve made four!
Step 2: Replace the existing hinges
Once you’ve procured a box, you’ll want to replace the hinges with hinges that are able to hold the lid still in various positions. This allows the lid of the box to serve as an easel for your canvas or sketchbook. These special hinges are called “Adjustable Torque Position Control” hinges. Some people call them friction or tension hinges because you can adjust the tension of the hinge with a tightening screw and it allows the hinge to open and stay in place in various positions. The hinges I recommend above are strong enough to hold some fairly heavy weight. The hinges usually come with screws but I recommend smaller screws so that they don’t exceed the thickness of the wood on the box. You can pick up these smaller screws at your local hardware store.
Remove the original hinges and then use the original hinge hole placements as a guide and mark where the new hinge holes should go and then simply use the new screws to screw the new hinges into place.
In reality, step 1 and 2 are all you need but the following steps can make your box more usable in the field.
Optional Step 3: Attach some D-rings
The D-rings are used for attaching a shoulder strap to the box. This allows you to carry it or you can use the strap to hold the box against your body which allows you to use the box while standing. See image below.

Mount the right D-ring to the front right side of the box and the left D-ring to the back left side of the box.
You’ll want to swap this configuration if you’re left-handed since you don’t want the strap in the way of the dominant hand. Having the straps at opposite corners allows the box to naturally stay horizontal when suspended by the rings. Once the D-rings are attached to the box, attach the camera strap to the rings. I prefer to use carabiners for this. Using small carabiners allows for a quick way to remove the strap when not in use. I like to take the strap off when the box is on a table or a tripod.
Optional Step 4: Install the tripod mount
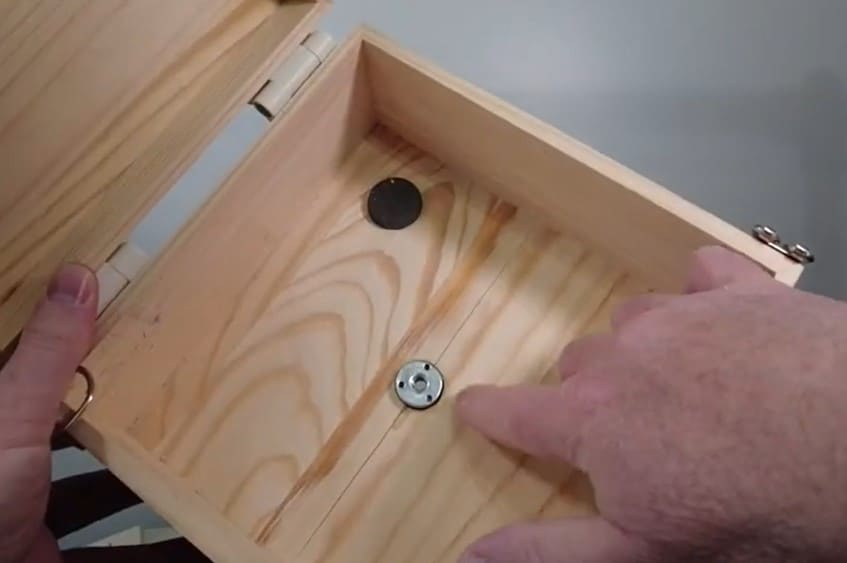
If you want to be able to mount your sketchbox on a tripod, you’ll need to install a tripod mount. To do so, locate the center of the bottom of this box and drill a hole with a ¼ inch bit. This hole will be for a standard one-quarter inch t-nut which is the standard size for all camera tripods. The t-nut will likely be too tall for the thin base of the box so used two rubber washers to act as a shim. Use a strong glue like Gorilla glue to glue the rubber washers and the t-nut together and then insert the t-nut with the attached rubber washers into the pre-drilled hole with the head of the t-nut on the inside of the box. Glue it in place and give it all plenty of time to dry. There isn’t a really good way to clamp it while it dries but you can use a ¼ bolt and washer to cinch down the t-nut onto the box. [see image]. Remove the bolt and washer after everything has dried and it’s ready for a standard tripod.
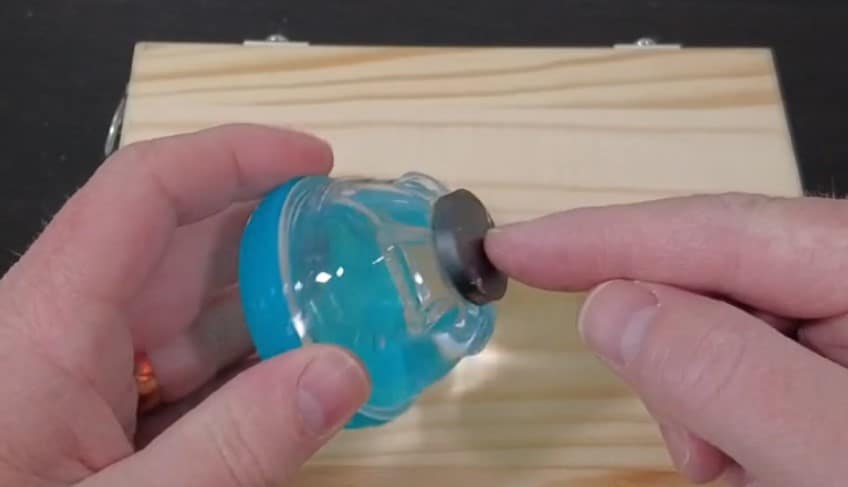
Optional Step 7: Install a water cup
If you plan on using this art box for watermedia like my favorite watercolor pencils, securing a water cup inside the box with magnets will help keep it from tipping over and spilling. Simply glue one magnet to the bottom of the cup and the other magnet to the bottom of the box.

Required Final Step: Enjoy your new sketchbox easel!
Once you’ve added your supplies, your new sketchbox easel is ready to use. You can use it to sketch anywhere, from the beach to the mountains. For some ideas on how I have used the box inside a car paired with a tray that mounts on the steering wheel. Check out this post: 7 Awesome Tips for Plein Air Painting from a Car