Explore Art - Discover Life
Join me in my art explorations and discoveries. We'll explore art inspired by the outdoors. Simple, Fun and Relaxing is the goal
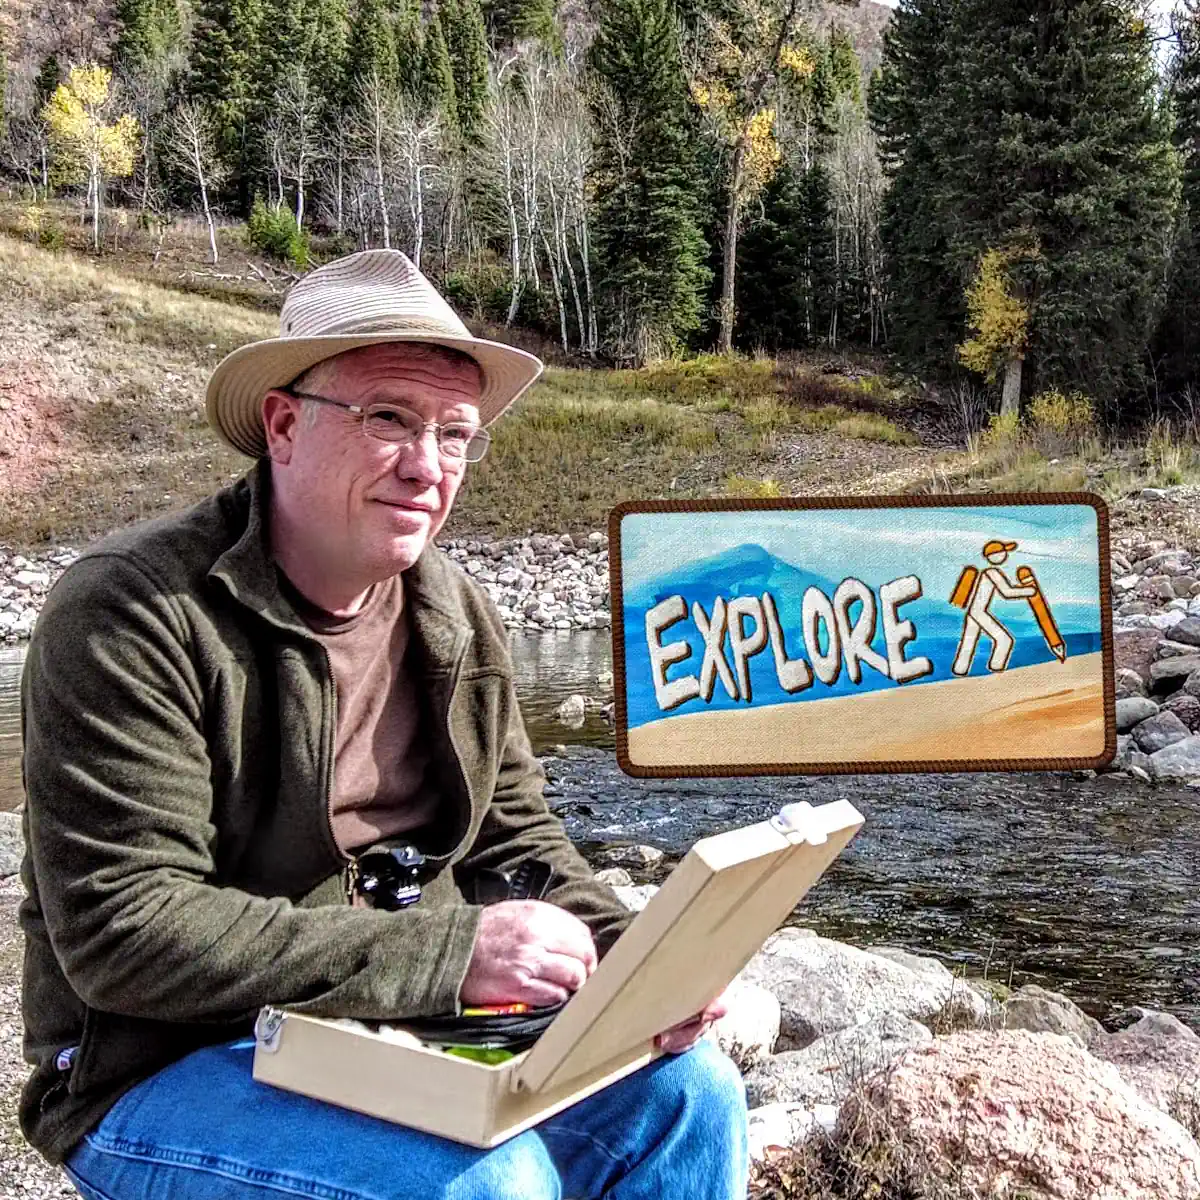
Join me in my art explorations and discoveries. We'll explore art inspired by the outdoors. Simple, Fun and Relaxing is the goal
Sign up for my FREE newsletter to get updates on new videos and posts
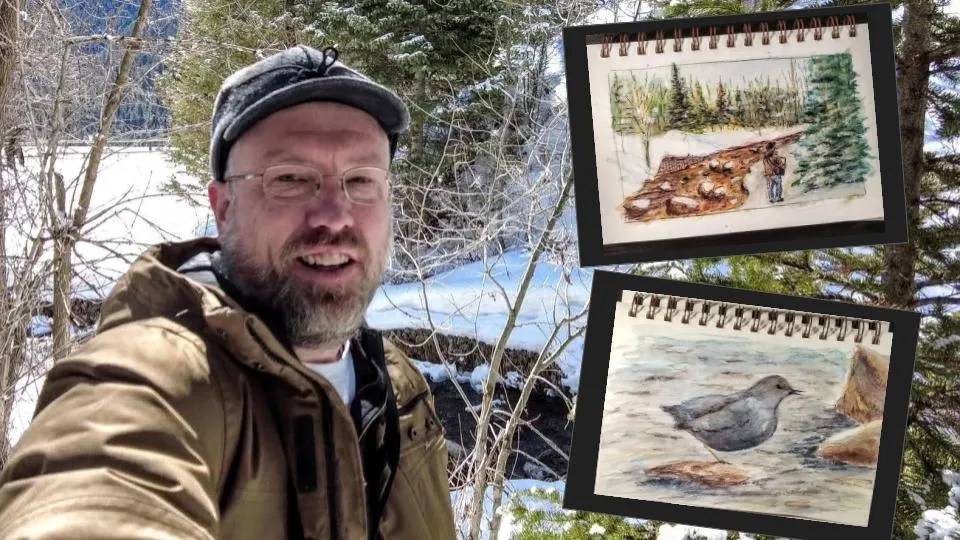
Most of what I've learned about making art has started with an experiment in curiosity.
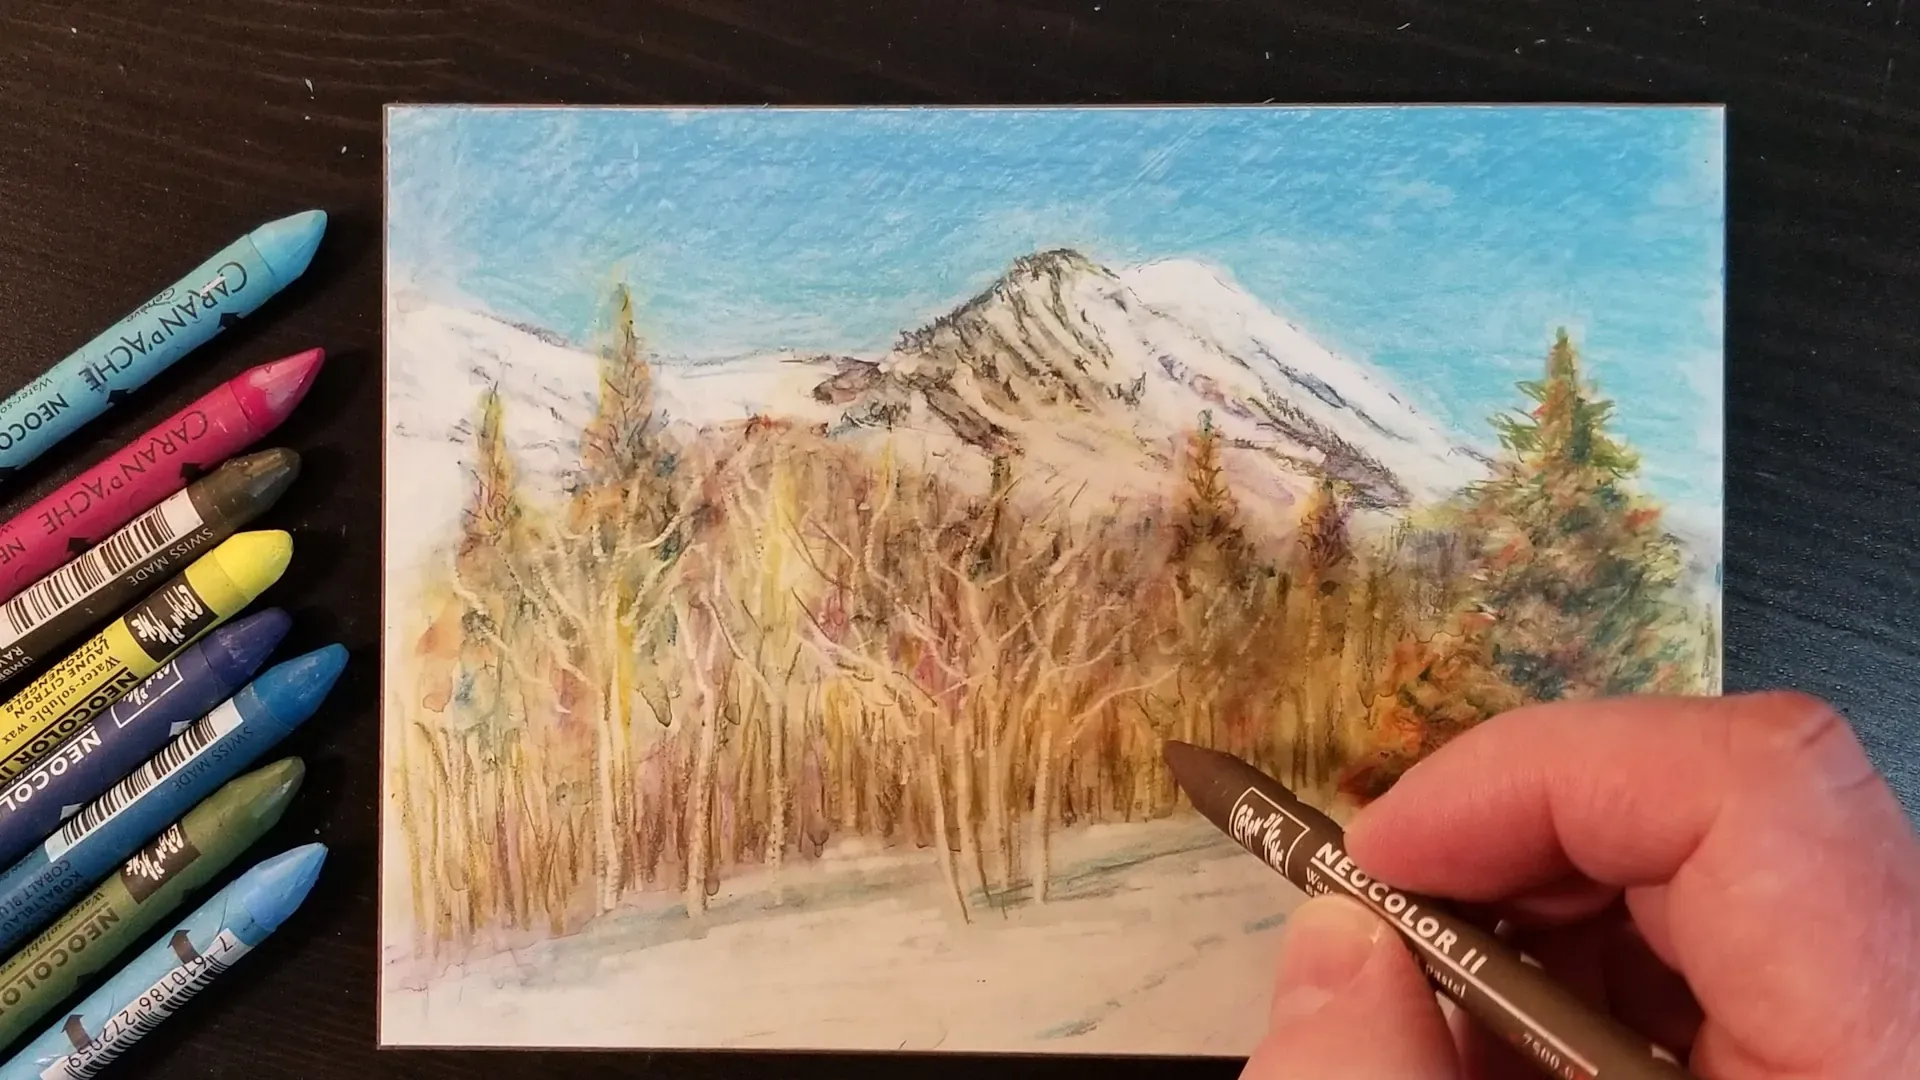
Neocolor pastels look like a standard crayon but they are so much more. In fact, I keep forgetting how brilliant the Neocolor 2's are!
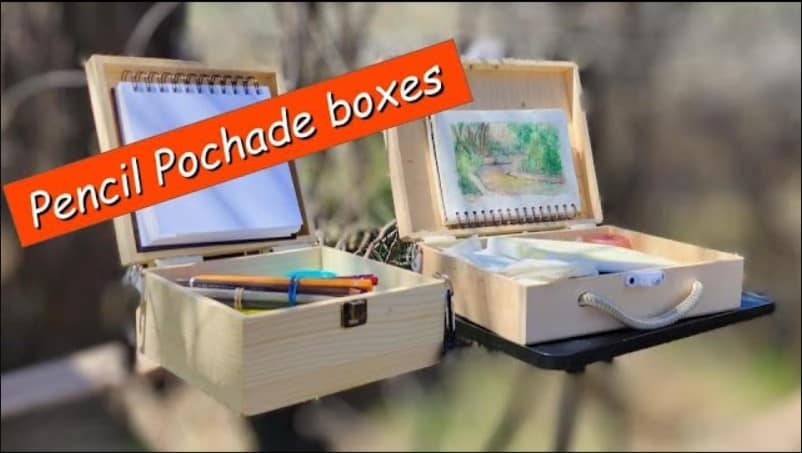
Having a portable box for my art supplies that can double as an easel has made my sketching adventures even more fun. In this post, I'll share my tips for making a sketchbox easel, or pochade box as some people call it. I will also highlight some of the features that I find most important.
You're not alone! This is a very beginner friendly site.